
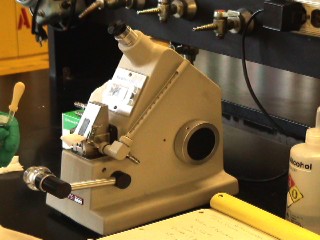
Operating the Bausch & Lomb Abbe-3L Refractometer
 |
Operating the Bausch & Lomb Abbe-3L Refractometer |
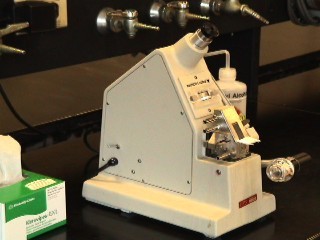 |
Some labs store the refractometer with a piece of tissue in the prism assembly to keep the prism glass from being scratched. |
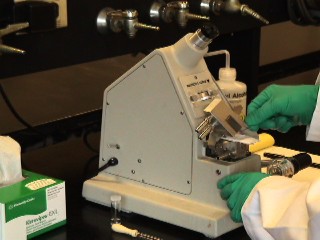 |
Open the prism assembly and remove the tissue. |
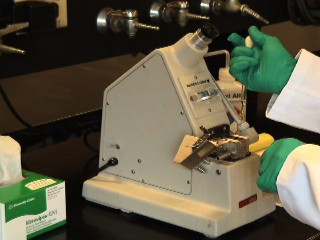 |
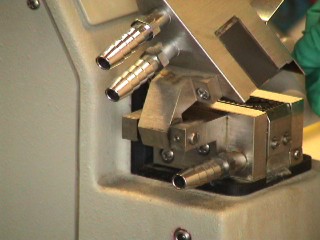
Use a pipet to apply your liquid sample to the prism. |
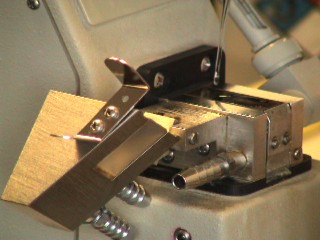 |
Be careful not to let the glass pipet tip touch the prism since this may scratch the soft prism glass. |
 |
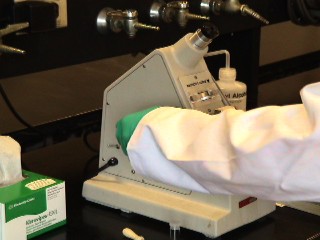
Close the prism assembly. |
 |
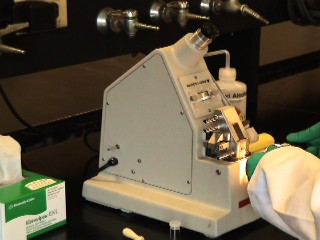
Turn on the lamp using the switch on the left side. (On some models the switch may be in the power cord.) |
 |
Adjust the lamp so the light shines on the prism. |
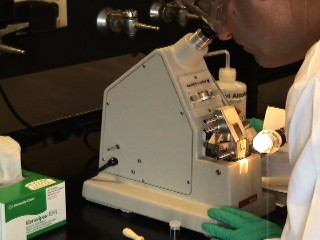 |
Look through the eyepiece. |
 |
If you are close to the index of refraction of your sample you should see that the view in the eyepiece shows a dark region on the bottom and a lighter region on the top. |
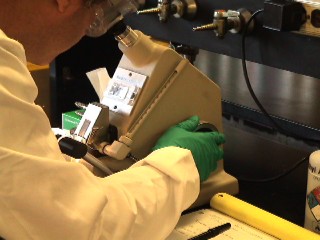 |
If you do not see a light and a dark region, turn the handwheel on the right side of the instrument until you do. |
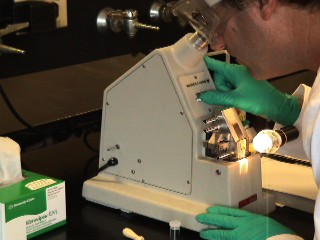 |
Before making the final adjustment, it will usually be necessary to adjust the lamp position and to sharpen the borderline between the light and the dark regions using the compensator dial on the front of the refractometer. |
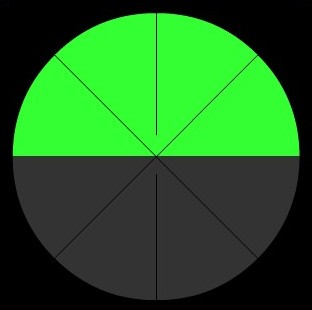 |
Once you have a crisp demarcation between the light and dark regions, turn the handwheel on the right hand side to place the borderline exactly on the center of the crosshairs as shown. |
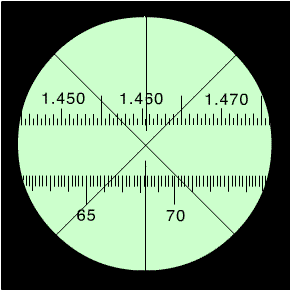 |
To read the index of refraction, depress the switch on the left hand side of the refractometer until you see the scale through the eyepiece. The upper scale indicates the index of refraction. By carefully interpolating you can read the value to 4 decimal place accuracy. The example shown here has a refractive index of 1.4606. |
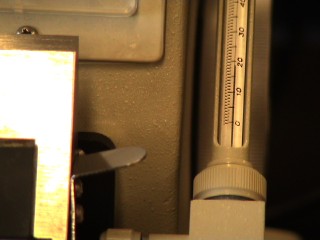 |
Record the refractive index in your lab notebook. Then read the thermometer and record the temperature. |
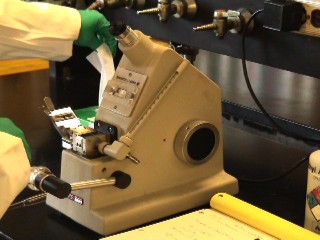 |
After you are finished, clean the refractometer. First use a tissue to dab away most of your sample. |
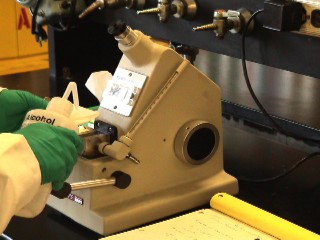 |
Then wash the prism with a little solvent, we usually use a simple alcohol such as ethanol for cleaning organic samples. |
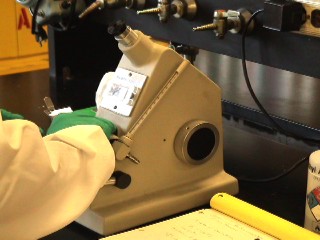 |
A dabbing motion rather than a rubbing motion is preferred to minimize the chances of scratching the prism. |
 |
After you have finished cleaning the prism, place a clean tissue in the assembly. Before you leave make sure that the light has been turned off. |